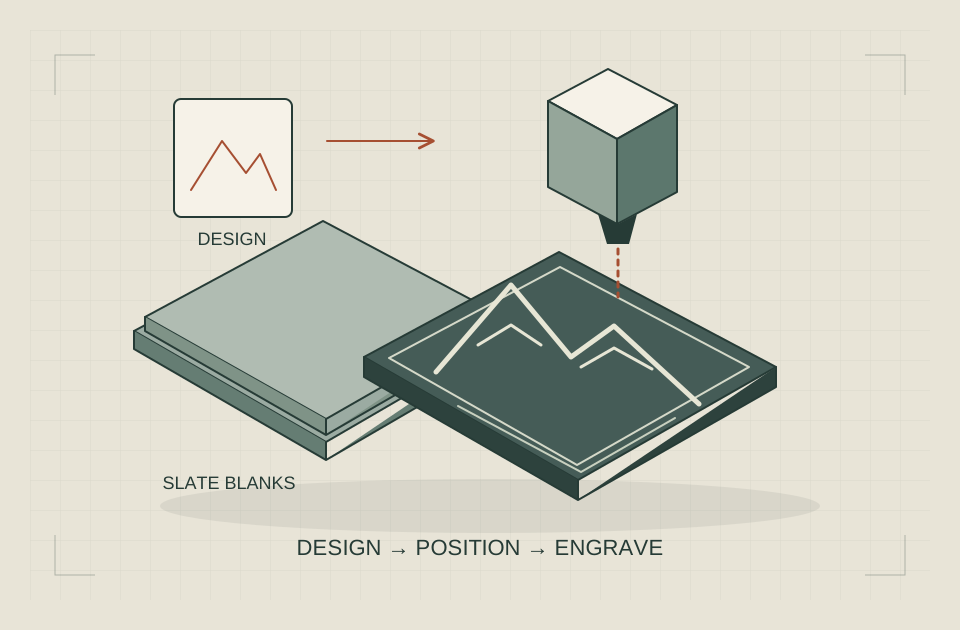
Laser engraving slate coasters is a compact project with several separate decisions: which blank you have, whether your machine supports the process, how the artwork fits, and what the finished surface should look like. A successful design needs more than a borrowed power percentage.
Laser engraving slate coasters is a compact project with several separate decisions: which blank you have, whether your machine supports the process, how the artwork fits, and what the finished surface should look like. A successful design needs more than a borrowed power percentage.
Make the first project a four-piece name-and-symbol set. Start with one identified blank, a supported diode process and a small test sample. Accept the cleaned sample before copying the design to all four positions.
The walkthrough below includes original artwork and calculated layout examples. It is a source-based project guide, not a report of an engraving experiment or tested finishing product. Your exact machine and stock determine the operating settings.
One original design. One accepted sample. Four coasters.
Begin with known slate stock and a supported diode process. The artwork example below is a dimensioned design exercise, not a claimed engraving result.
The project route: one sample before four finished pieces
- Select identified slate stock and resolve its coatings and backing.
- Measure the usable face and choose one top direction.
- Prepare the original artwork below at the final size.
- Import it into LightBurn and separate reference geometry from output artwork.
- Use the supported machine/material process to establish a documented sample.
- Clean and inspect that sample consistently before deciding on a finish.
- Copy only the accepted design and settings into the four-position layout.
Keep one physical sample and its matching file revision. That is the reference for the rest of the set, while a screen preview remains a design preview rather than proof of the final appearance.
Define the coaster you want to make
Choose one result before collecting designs. A set of four name coasters is a different project from a detailed photo portrait, even when both use the same stone.
For a manageable first version, use a short name, a simple border, and one original symbol. Keep the design understandable without color. The purpose is to evaluate the blank, layout, and supported engraving process without making image preparation another experiment.
Write a short acceptance description. For example: the name must be complete and readable, the border must stay inside the usable face, and all four pieces must have the same orientation. Add your actual expectations for finish and everyday use.
Do not describe the outcome as waterproof, dishwasher-safe, food-safe, or permanently fade-resistant unless you have evidence supporting that particular claim. A coaster looking good immediately after engraving establishes much less than long-term durability.
If the item is a gift, check spelling and the intended reading direction before preparing a batch. If it is a customer order, obtain approval of the actual design revision and clarify whether the preview represents proposed artwork or a photographed finished sample.
Confirm the material before selecting settings
“Slate coaster” is a retail description, not a complete material record. Identify the supplier, product, batch if available, and any coatings, backing, adhesive, or decorative treatment.
A natural-looking surface does not prove that the entire object is untreated stone. Determine what the manufacturer and material supplier permit in the proposed laser configuration. Do not use a trial burn to identify an unknown coating.
Glowforge’s custom-material guidance explains why material identification and supplier information matter. That guidance belongs to Glowforge’s systems; the general purchasing question remains useful when asking your own laser manufacturer about a blank.
Make a stock record with:
- The supplier’s exact product identification.
- The nominal dimensions and the dimensions you actually observe.
- Known treatments and backing components.
- The process compatibility documentation.
- The location of any unresolved supplier answer.
- The design revision intended for those blanks.
Include backing, adhesive and existing finish in the material assessment. Position underneath the stone does not establish approval for exposure in the proposed process.
Can a diode laser engrave slate coasters?
Manufacturer examples establish that specific diode workflows exist. xTool’s slate-coaster guide includes a diode-laser process, while Epilog’s slate-coaster project documents a different machine and source configuration.
Those examples do not make their settings interchangeable. A setting expressed as a percentage belongs to a particular machine and documented process. Copying the percentage alone leaves out essential information.
If you own a Sculpfun or another diode machine, request guidance for that exact model and the identified slate product. Do not treat a broad “dark stone” entry as a complete recipe for every supplied coaster.
When choosing equipment, ask whether the manufacturer can demonstrate your required result on known stock. Our first laser engraver guide explains how to connect a material and finished object to an appropriate machine.
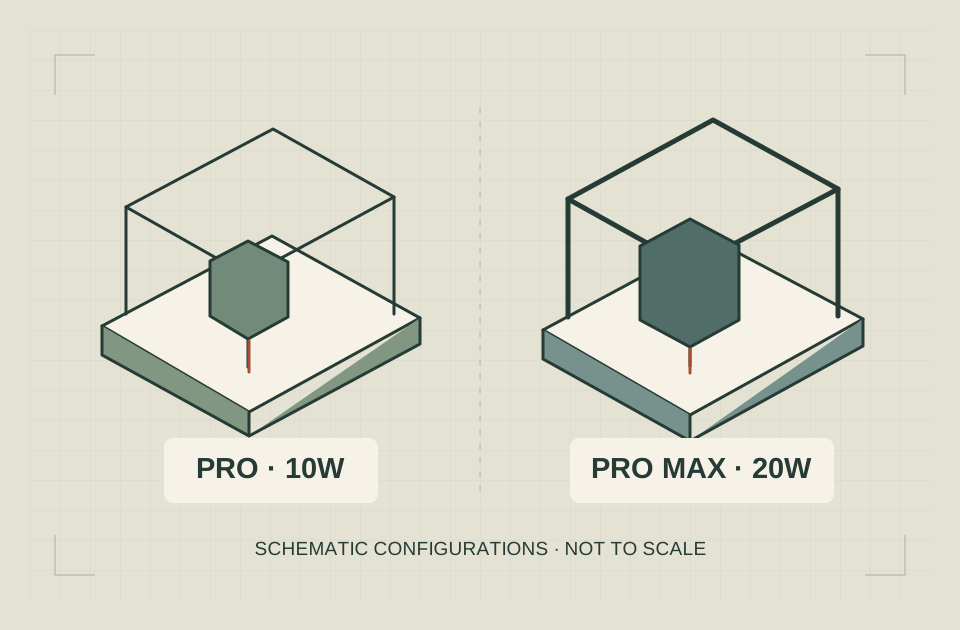
For this project, evaluate the supported mark and complete workflow. Do not infer that a higher power rating automatically means finer lettering, a brighter mark, or a shorter finished-batch time.
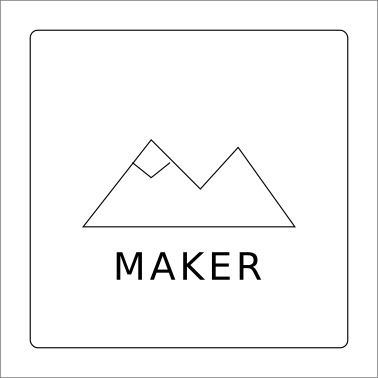
Original design: an inset frame and mountain motif
The original example uses a 100 × 100 mm document, an 84 × 84 mm frame beginning 8 mm from each nominal edge, a simple mountain motif and editable MAKER text. Replace the text with the approved name while preserving a separate editable original.
Download the original artwork-only SVG. It contains geometry, not power, speed, a device profile or an approved process. The outer gray reference is deliberately separate from the black artwork. In LightBurn, exclude that reference from output before preparing any job.
Adapt the design to the actual usable face
Measure the face that can actually carry the design. An irregular edge can make the usable region smaller than the nominal product size.
Consider a hypothetical square blank listed as 100 mm wide. If you choose to reserve 8 mm from each nominal edge, the planned central design width is 84 mm. That subtraction is a layout example, not a recommended universal margin.
Inspect the actual blanks before using the number. A chipped corner or strongly irregular edge may require a smaller region or a different placement decision. A border that follows a mathematically perfect square can make natural irregularity more obvious.
A centered name without a border may be more forgiving. A deliberately inset frame creates a more formal look but demands more consistent alignment. Choose the design style with the blank’s variation in mind.
Keep lettering editable until it is approved
Retain an editable source document with the correct spelling, font identification, and dimensions. Save a separate production revision when converting text or simplifying artwork.
LightBurn’s file-management reference discusses imported text and font availability. Check that the receiving document contains the intended letter shapes before preparing the job.
Use fonts and artwork with rights covering your intended use. A downloaded logo or a recognizable fictional character is not automatically available for a gift or commercial order. Creating your own simple motif avoids making someone else’s design rights part of the project.
Evaluate detail at the final size
Do not judge a small coaster design only while zoomed in on a large monitor. Review the artwork at its intended dimensions, including the smallest lettering and narrow spaces.
A printout can help you evaluate reading size and composition, although it cannot predict the laser’s mark. A physically small gap that looks generous at high zoom can be less useful in the finished design.
For a first documented sample, keep fine decorative features separate from essential information. You should be able to identify whether a problem affects the name, the border, or only an optional motif.
Prepare the file in LightBurn before arranging the batch
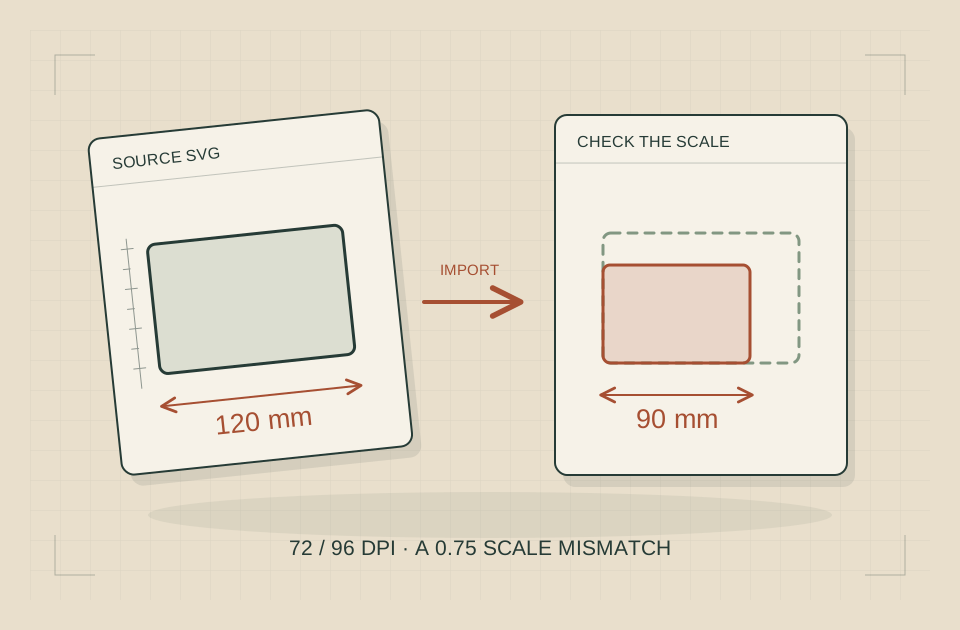
Open File → Import and choose the supplied SVG. The page is 100 mm square, but the reference outline sits 0.1 mm inside it: selecting that gray path should describe a 99.8 × 99.8 mm outline. The inset frame itself measures 84 × 84 mm. Compare the same outline rather than treating the page and selected artwork as identical measurements.
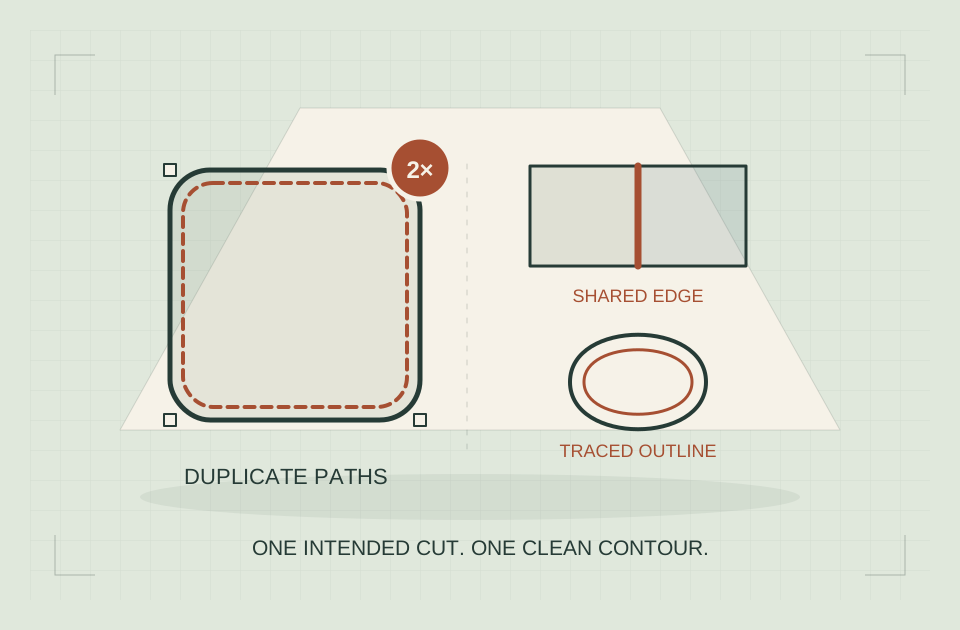
Use Arrange → Ungroup on the imported working copy until the gray reference can be selected separately, then assign it to T1 or T2, the tool layers at the end of LightBurn’s palette. The Tool Layers documentation explains that they have no output parameters and are not sent to the laser. Preview should exclude the outside reference while retaining the intended artwork.
For the text, choose Fill when the intended result is solid lettering. The frame and mountain are thin vector artwork; choose a supported marking operation appropriate to the intended line rather than treating the frame as a through-cut. The Line and Fill references explain the geometric difference. Power and speed still come from the supported material process, not the color of an imported object.
Inspect the word after import. The SVG uses generic sans-serif text and does not redistribute a font. Choose a properly licensed font installed on the receiving computer or convert approved lettering to paths in a production copy. Keep the editable source for spelling changes.
Save a native LightBurn project under a revision name. Use Preview to verify the mark, guide exclusion and operation assignments. A reference path accidentally assigned to a cutting operation is a file error to correct before the machine is started.
Arrange the four-position layout
One coaster can be positioned individually. Several coasters need a plan that preserves their orientation and relationship to the artwork.
Begin with a document-only layout. Draw the intended blank outlines as planning geometry, then place each design within its corresponding outline. Mark the top direction clearly in your working notes.
For an illustrative four-position arrangement using 90-mm square outlines, you could place two rows and two columns within a 200-mm planning area:
| Position | Left coordinate | Top coordinate | Outline width and height |
|---|---|---|---|
| Upper left | 5 mm | 5 mm | 90 × 90 mm |
| Upper right | 105 mm | 5 mm | 90 × 90 mm |
| Lower left | 5 mm | 105 mm | 90 × 90 mm |
| Lower right | 105 mm | 105 mm | 90 × 90 mm |
This example leaves a 10-mm gap between outlines and 5 mm around the outer arrangement. It is only a drawing exercise. It does not approve a jig, define a machine’s safe operating clearance, or establish that your blanks are 90 mm.
If you create a physical fixture, its material and use must be supported by the machine’s instructions. Keep planning outlines from accidentally becoming engraving or cutting instructions. Verify the output selection and use only the manufacturer’s permitted positioning procedure.
Load orientation matters as much as coordinates. A set can be evenly spaced but still contain one design upside down. Identify each position in your record and check the wording assigned to it.
Affiliate link · We may earn a commission on eligible purchases. How funding is disclosed.
Choose the workflow before the wattage
A suitable laser, supported control software and stable positioning matter more than copying another machine’s settings.
- Machine: documented slate-marking process
- Software: correct dimensions and Preview
- Workholding: approved fixture and usable field
Choose settings through a documented material test
The useful answer to “What are the best slate laser engraving settings?” begins with your machine, stock, desired mark, and the manufacturer’s supported starting process.
Open Laser Tools → Material Test to reach the generator. Choose the variables and a manufacturer-supported range for the specific process; keep labels and the layout inside the approved blank area. LightBurn’s First Material Test guide describes its built-in grid for comparing settings such as speed, power, passes, and line interval. Use the feature only within a process and parameter range appropriate to your machine and approved material.
Do not populate a grid with extreme values simply to see what happens. A software generator does not determine whether a material or operating condition is safe.
Record the units attached to speed. A number without its units is an incomplete setting. Record the layer mode, passes, interval, focus procedure, and supported air-assist arrangement as well.
Use an identified spare blank from the same stock for the evaluation. Label the corresponding record so a promising sample can be traced back to the actual settings, rather than a remembered position in a grid.
The goal is not necessarily the most dramatic mark. Evaluate whether the design is readable, edges remain acceptable, and the result survives the documented cleanup step. A result judged before cleaning can be misleading if loose residue contributes to the appearance.
Line interval deserves its own decision
Line interval is not interchangeable with imported image dimensions or the SVG import DPI setting. It concerns spacing between scan lines in an engraving operation.
LightBurn’s Interval Test reference explains that the suitable interval depends on the machine, material, and focal conditions. A denser arrangement does not automatically produce a better result.
For a slate name design using filled lettering, inspect whether the supported process reproduces the intended shapes without obscuring small spaces. For a photo project, image processing adds further decisions that this simple text-and-symbol workflow does not attempt to solve.
Changing interval, speed, artwork, and finishing treatment simultaneously makes a sample harder to interpret. If the first documented result needs improvement, identify which variable you are evaluating in the next comparison.
Keep an accepted sample and its record together. A screenshot of a settings panel is useful only when you can connect it to the correct stock, design, and observed result.
Prepare the machine for the actual blank
Before operation, follow the exact manufacturer’s setup and safety sequence. Verify the intended protective configuration, extraction, material compatibility, focus procedure, and supervision arrangements.
Compare the actual thickness and surface height of each blank, then use the machine’s supported focus procedure for the loaded piece. Mixed packs may require different positioning adjustments.
Inspect the blanks in the planned positions and resolve instability using only supported workholding methods. Do not improvise a loose stack under a moving head or bypass a protective feature to accommodate an uneven object.
Our small-workshop setup guide provides a broader readiness checklist. Here, the project-specific task is to establish that the actual slate piece and layout match the configuration you reviewed.
Use Preview to inspect the planned output before starting. Check that the name, symbol, and any intended filled areas are included, while measurement guides are excluded. If a border unexpectedly becomes a cut path, correct the document before running it.
Inspect the cleaned sample before deciding on finish
Allow the machine and workpiece to reach the condition required by the operating instructions before unloading or cleaning. Use the supplier’s permitted cleaning method for the stock and any existing treatment.
Epilog’s documented slate project uses a damp cloth after engraving. That is a specific example, not a universal cleaning specification for coated or composite products. Avoid transferring it blindly to an unidentified finish.
Compare the sample when its surface is in a consistent condition. A wet surface and a dry surface can look different, so do not judge the sample only in the moment that makes the photograph most dramatic.
Use consistent lighting and viewing direction for your own evaluation record. The aim is to see whether the name and motif remain clear, not to maximize an image’s contrast through editing.
Inspect the full design. Check spelling, orientation, margins, unwanted marks, and the relationship between the art and irregular edges. Keep the sample separate from the rest of the set until you decide whether it meets the written acceptance criteria.
Do you need to seal engraved slate coasters?
Sealing is a finishing choice that depends on the supplied stone, existing treatment, intended use, and the particular product being considered. It is not automatically required to complete every laser mark.
Some manufacturer-hosted projects discuss oil or coatings, but that does not establish that any household product is compatible with your slate, your process, or the use you intend. Obtain guidance for the actual finishing product.
Separate two questions: whether a treatment may be applied to the finished piece, and whether a treated piece may be laser processed. Approval for one does not automatically answer the other.
For a cautious comparison, preserve an unmodified reference sample. If the stock and finishing-product instructions support a treatment, document the application and required drying or curing conditions before judging the result.
Do not generalize a fresh appearance into a durability claim. If a customer expects resistance to condensation, staining, or cleaning, decide what evidence would substantiate that expectation and communicate the limits honestly.
Avoid assuming that a coaster is a food-contact surface or that a food-related label on one product approves the whole finished article. The intended use and applicable product instructions need their own review.
Troubleshoot the result by separating the stages
A disappointing final coaster can originate in the design, placement, laser process, cleanup, or finish. Changing machine settings cannot resolve every stage.
| Defect | Separate the cause | Useful correction |
|---|---|---|
| Lettering is missing in Preview | Import/font or layer assignment | Restore the font/paths and intended output layer before engraving |
| Text is right but the design is off-center | Blank measurement or orientation | Correct the placement reference and recheck the entire footprint |
| One coaster differs from the set | Stock, surface height or process variation | Compare that piece with the accepted blank and its focus procedure |
| Contrast changes after wiping | Residue or a changed surface condition | Compare samples after the same permitted cleaning and drying sequence |
| A finish makes the mark less visible | Finishing stage rather than the original artwork | Preserve an untreated reference and assess the approved finish on a separate sample |
| Tiny details merge | Final-size artwork or unsupported process detail | Simplify that feature and evaluate a documented sample before changing the full batch |
| Reference border appears in Preview | Guide assigned to output | Move the outside reference to a tool layer and verify its removal from Preview |
Locate the stage where contrast changed before adjusting processing settings. If the untreated sample was acceptable and the finish changed it, evaluate the finishing step against the saved untreated reference.
Similarly, a correctly engraved design cannot repair a misspelled name. Keeping the stages separate helps you make one useful correction instead of restarting with unrelated settings.
Turn one accepted sample into a consistent small set
Once the sample meets your criteria, preserve its design revision, material record, and supported process settings. Use the same acceptance checks for the remaining pieces rather than relying on resemblance from memory.
Before each loaded group, confirm the number of blanks, names, top direction, and intended output. Afterward, inspect each item rather than treating the batch as one pass-or-fail object.
Record any change in stock or treatment as a change worth evaluating. A new pack with the same retail title is not proof of identical behavior.
For gifts or orders, keep the care information consistent with the actual materials and finishing-product instructions. Do not invent cleaning claims simply because similar products online make them.
A useful first slate-coaster project ends with an accepted sample and a process you can explain. Start with known stock, original artwork, and a documented machine workflow; then make the set from evidence gathered at each stage. That approach gives you a more reliable next project than a settings screenshot detached from its material and result.
Keep the sample and the setup record together
Use your accepted design and material record to plan the whole installation before expanding the batch.
Sources & specifications
Reviewed 2026-10-17. Compatibility tables apply to the manufacturer's equipment; confirm your exact machine, stock and accessories before use.
Glowforge Custom Materials FAQ ↗
Checked · Material identity, supplier confirmation, SDS; anodized aluminum marking and slate cautions.www.xtool.com engrave a slate coaster ↗
Checked · Technical reference checked during the October 17 article revision; no personal equipment testing claimed.www.epiloglaser.com slate coasters laser engraving ↗
Checked · Technical reference checked during the October 17 article revision; no personal equipment testing claimed.docs.lightburnsoftware.com FileManagement ↗
Checked · Technical reference checked during the October 17 article revision; no personal equipment testing claimed.docs.lightburnsoftware.com MaterialUtilization ↗
Checked · Technical reference checked during the October 17 article revision; no personal equipment testing claimed.docs.lightburnsoftware.com LineMode ↗
Checked · Technical reference checked during the October 17 article revision; no personal equipment testing claimed.docs.lightburnsoftware.com FillMode ↗
Checked · Technical reference checked during the October 17 article revision; no personal equipment testing claimed.docs.lightburnsoftware.com FirstMaterialTest ↗
Checked · Technical reference checked during the October 17 article revision; no personal equipment testing claimed.docs.lightburnsoftware.com IntervalTest ↗
Checked · Technical reference checked during the October 17 article revision; no personal equipment testing claimed.Independent research. This article contains an affiliate recommendation; we may earn a commission on eligible purchases. How funding is disclosed.