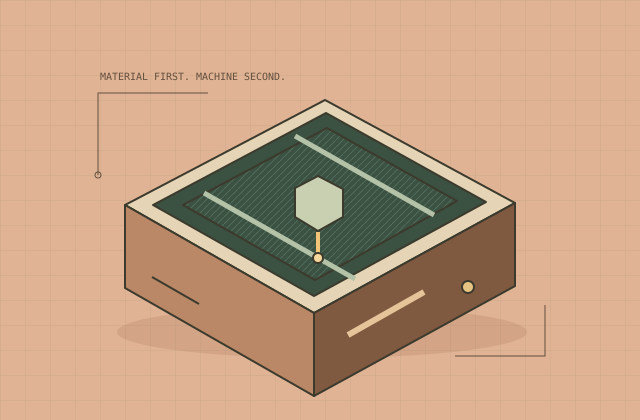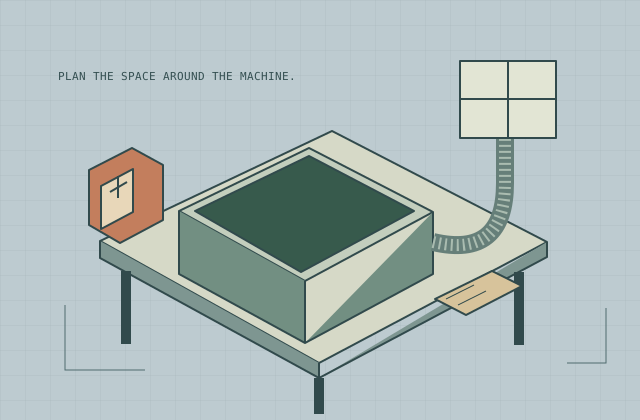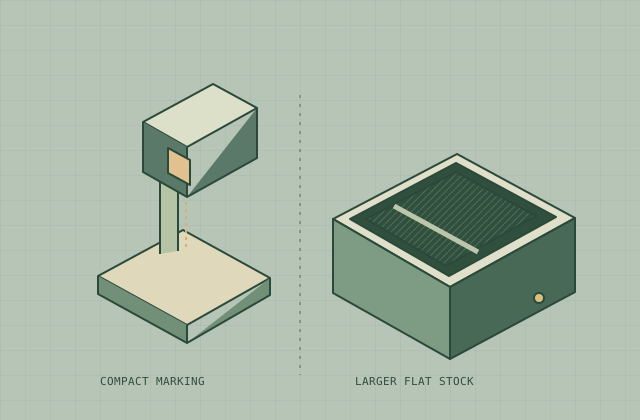
Compare the complete working setup, not just the machine you carry. A compact marker can suit small individual objects; a larger flat bed can suit sheet work and fixtures.
“Portable” and “desktop” are useful shopping shorthand, but they are not safety classes or material approvals. A portable system can still need a fixed, controlled workspace. A desktop system can still require repositioning for a job that exceeds its usable area.
Start by describing how an object gets into the machine, how it is held and what happens after the mark. The format that makes this sequence manageable is more useful than a format that simply looks compact.
Portable vs desktop: compare the complete workflow
The following matrix is an editorial planning framework. It describes questions associated with compact marking systems and larger flat-bed systems, rather than guaranteed properties of every product.
| Decision | Compact / portable-style marker | Larger desktop / flat-bed system |
|---|---|---|
| Footprint | Measure the stand, workpiece, enclosure and exhaust together | Measure the case, lid clearance, service access and exhaust together |
| Working area | Check the standard field and any documented extension workflow | Check usable area, not external case or tray dimensions |
| Enclosure | Verify the exact operating configuration and supplied accessories | Check the manual; a case alone is not proof of a particular safety class |
| Material family | Follow the specific source and approved material process | Follow the specific source and approved material process |
| Mobility | Account for packing, calibration and setting up a controlled workspace again | Consider whether a permanent installation avoids repeated setup |
| Rotary / fixtures | Confirm support, object clearance and mounting | Confirm support, object clearance and usable area with accessories |
| Likely handling trade-off | Individual-object placement may suit small personalized work | A larger field may suit flat stock or multi-object fixtures |
Neither column is a buying recommendation. If your projects change from tags to panels, your preferred handling sequence may change too. If they stay small but need strict placement, fixture design may matter more than nominal work area.
Two documented size examples
For a grounded comparison, we checked two specific manufacturer configurations on October 13, 2026. We have not used either machine. The details below are specification examples rather than claims about speed, finish or reliability.
LaserPecker’s US LP4 page lists a 160 × 120 mm standard working area, with a 160 × 300 mm area using its optional Slide Extension, and separate 10 W diode / 2 W IR outputs. The extension does not change the standard field into an interchangeable larger flat bed. LP4 US specifications.
xTool’s S1 guide lists the 40 W configuration at 498 × 319 mm working area, 765 × 561 × 183 mm machine dimensions without a riser, and 20 kg mass. The same guide lists a different working area for the 20 W configuration. The outside dimensions do not include your loading, service or exhaust clearance. S1 User Guide.
These figures illustrate why the words “desktop laser” are not enough. A blank that fits one documented field may not fit another. Keep exact configuration names next to every figure in your notes. Product cards with the same sourced specifications appear after this guide.
Separate laser source from machine format
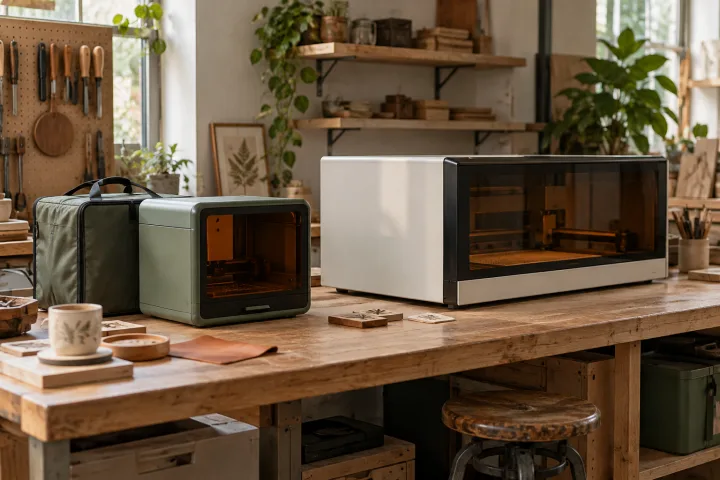
A compact system can contain more than one source. A larger system can also be sold with alternative modules. The shape of the machine is therefore a poor shortcut for material compatibility.
Epilog’s documentation distinguishes CO2 applications from fiber-metal marking and identifies a separate marking-solution workflow for CO2 work on bare metals. That is a source/process distinction, not a portable/desktop distinction. Material compatibility.
Make a two-part checklist: first, which documented source/process supports the exact material; second, which format holds the object and leaves room for its fixtures. Reject a machine that fails either part, even if its other specifications look attractive.
Map your placement sequence
For a one-off tag, sketch the position of the blank and the reference points you will use to align the design. For a batch of coasters, sketch the full fixture and the space between objects. For a curved object, sketch its relationship to the supported rotary and the machine’s clearance.
Ask about alignment in the software version you will use. If a camera is offered, find out what its preview represents, what calibration it needs and where its limits are documented. If positioning uses reference points, check how those points are entered and maintained. Do not treat either approach as proof of perfect alignment.
Check whether extensions require repositioning, separate software settings or a particular fixture. Obtain the exact accessory manual. “Supports a rotary” does not tell you whether a handled mug or tapered tumbler fits.
A practical pre-purchase exercise is to make a cardboard outline of the documented working field and place your objects inside it. This is a planning aid, not a material-processing test. It makes a tight layout easier to spot before purchasing.
Recalculate portability with the whole kit
If you plan to move between workspaces, list every item that must move: stand, enclosure, extraction equipment, safe stock, fixtures, power accessories and computer if required. Then list the checks that must be repeated at the destination.
A temporary table is not automatically a suitable workstation. You still need to resolve the machine’s operating requirements and the effects on people nearby. The FDA cautions that laser hazards can include reflected exposure, depending on class. Small size does not cancel those hazards. FDA classification overview.
For a home maker who does not actually need to move, a permanent measured installation may be simpler to manage. This is an organizational trade-off, not a claim that one product format is universally safer.
Choose a format with an evidence checklist
Before requesting a quote, collect these five answers:
- Fit: your largest object plus its fixture fits the documented configuration.
- Process: the manufacturer supports the exact material and the result you want.
- Installation: you have space for the complete operating setup and access around it.
- Accessories: required enclosure, exhaust and rotary components are identified by model, not by marketing photograph.
- Workflow: loading, alignment, supervision and unloading suit the way you intend to work.
Do not decide based on an advertised maximum motion speed alone. A completed job also involves handling and preparation, and we have not verified job times for these machines. Ask for evidence matching your specific project rather than extrapolating a promotional video.
If the material is still uncertain, return to choosing your first laser engraver. If the format fits but the installation does not, work through the small workshop setup checklist before buying.
Questions that change the format decision
Is a portable laser engraver a handheld tool?
Do not read “portable” as permission to aim or operate a machine by hand. Check how the manufacturer requires the head, stand, workpiece and enclosure to be positioned. Moving a kit between locations and safely operating it are separate questions; the approved setup still controls the process.
Does a desktop laser engraver need less ventilation?
A housing is not a fume-control specification. Compare the exact exhaust or filtration requirements for both candidates, alongside their material restrictions. Neither a smaller work area nor a larger case establishes that a machine can operate in a living space without its required controls. Our linked setup checklist covers the installation questions.
Which format works better for batches or larger objects?
Sketch the entire batch fixture, then account for loading, alignment and any repositioning. A larger usable field may reduce the number of placements for a particular layout, but it is not proof of a faster completed job. For oversized or curved objects, check the documented extension, rotary and enclosure configuration together; do not assume a pass-through or accessory is included.
Use the laser engraving research hub to keep material selection, format comparisons and installation planning together.
Manufacturer specification examples
Exact configurations matter. These examples illustrate a scale difference; they are not a shortlist of “best” machines.
| Example | Source type | Standard / working area |
|---|---|---|
| LaserPecker LP4 | Blue diode + infrared | 160 × 120 mm |
| xTool S1 · 40 W | Enclosed blue diode | 498 × 319 mm |
LP4
Blue diode + infrared
- Standard area excludes the optional slide extension.
- Source selection does not establish safe material compatibility.
- No firsthand testing; no verified price or bundle availability.
Informational · Manufacturer-listed specifications, not a recommendation
S1 · 40 W
Enclosed blue diode
- Dimensions exclude a riser base and service/exhaust clearance.
- 20 W configuration has a different listed working area.
- No firsthand testing; no verified price or bundle availability.
Informational · Manufacturer-listed specifications, not a recommendation
Sources & specifications
Reviewed 2026-10-13. Compatibility tables apply to the manufacturer's equipment; confirm your exact machine, stock and accessories before use.
LaserPecker LP4 specifications — US store ↗
Checked · LP4 standard working area and source outputs only. Marketing material lists are not safety clearances.xTool xTool S1 User Guide ↗
Checked · 40 W configuration only: dimensions, working area, mass, connections. Guide includes US specifications.Epilog Material Compatibility for CO2 and Fiber Laser Engravers ↗
Checked · Epilog compatibility table. Not a universal approval for other machines or unknown material formulations.Independent research. No affiliate links are active. How funding will be disclosed.